How to Design and Create a Gallery Wall
By Ebony AllisonOct. 25 2020, Published 3:49 p.m. ET
Everyone loves art museums. The sophisticated atmosphere, the fascinating art pieces, the storied collections of paintings – they’re a great place to sit and think about life. But what if we told you that you could bring that same atmosphere to your own home?
Home gallery walls are a stunning design trend that’s here to stay. Why? They offer your home a touch of sophistication and elegance, offer you a place to display your favorite pieces of art or family photos and provide you with a much-needed creative outlet.
If you’re not sure how to design your own gallery wall, don’t worry; we’ve got you covered. Check out our one-stop guide to creating the perfect gallery wall for your living room, bedroom, office, or wherever you think you could use a touch of creativity!
Step one: find the right wall
The first step in your quest to make the perfect gallery wall is deciding on the wall that you will put your gallery upon. There are several walls to consider, so be sure that you think it through carefully. Here are a few options:
- Living room: Living room gallery walls are a great place to put family photos, photos of your travels, or your favorite art pieces. The pro of a living room gallery wall is that it’s easy to view by many people, but the con is that it may take up space that you need for other things.
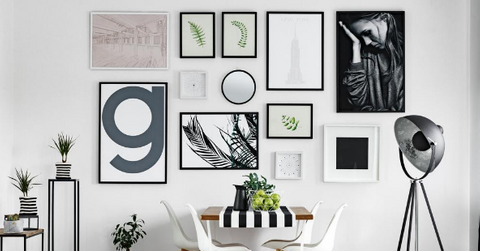
- Dining room: The dining room is another excellent place to consider hanging up a few photos and creating a beautiful gallery wall. The upside is that it will inspire tons of awesome conversation over dinner, making it a great option for entertaining guests.
- Bedroom: For a more intimate environment to display your gallery wall, you can’t go wrong with the bedroom. Especially when paired with luxury bedspreads and a beautiful chandelier, your gallery wall will surely pop.
Once you’ve decided where you want the gallery wall, it’s time to think about finding the right pictures for it.
Step two: pick the perfect pictures
The right pictures for your gallery wall depend on the general vibe that you’re going for. The good news is that you have tons of options, from canvas pictures of family and friends to framed paintings and artwork – or even a mirror or two to add to the visual interest.
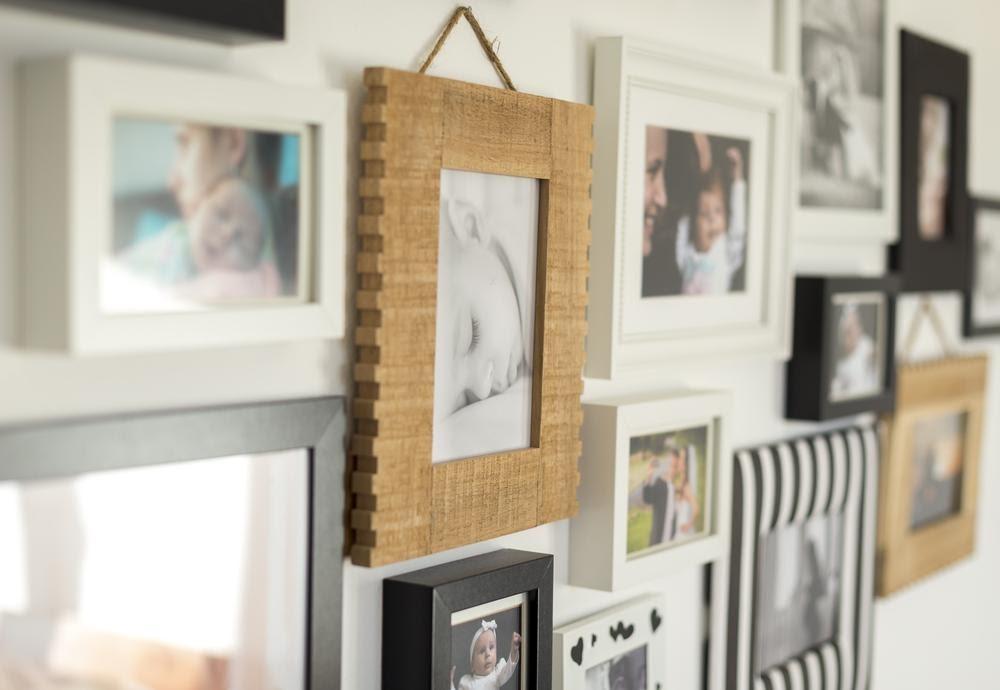
The best way to pick the right pictures is to have a theme in mind. Are you going for a more elegant, artsy appearance? Or will your gallery wall be more understated and minimalist? Or are you interested in displaying your many family and friend photos for all to see?
Think through these different options before committing – this will ensure that you don’t end up with a mismatched gallery wall that has no cohesive flow to the imagery contained there. Once you do decide on a theme, be sure to invest in high-quality printed pictures that will look good framed on your wall for years to come.

Step three: envision your arrangement
The last step in the process? Deciding how you want to arrange your gallery wall. A mistake many newcomers make is putting all the photos in a row, or into rows and columns. This creates a stuffy look, kind of like a dentist’s waiting room.
Instead, try arranging the photos based on their size, in a tastefully random arrangement. Put some larger photos or paintings beside smaller ones for a curated look that’s striking to the eye, but doesn’t appear clinical or overly-organized.
The next step is deciding what goes around the photo wall. Will you put a chair in the corner, so people can sit and enjoy the art? Or will you put a couch nearby, so that someone can sit comfortably while viewing the wall? These are important decisions to think through.
The best gallery walls are arranged in a tastefully random pattern on larger walls that allow for a truly eye-catching montage of beautiful photos.
What to remember
Remember to first decide on the wall that will become a photo gallery. Then, pick photos that will create a beautiful and cohesive theme. Lastly, arrange them in a beautiful and striking way, paired with the right furniture.

